How to Draw Men’s Fashion Design Sketches
If you are interested in creating fashion illustrations, the first step is to learn how to draw a body sketch, also known as a sketch. Drawing the human form can be a daunting task. The proportion must be just right to give the drawing visual appeal and authenticity. While it is essential for every fashion designer to have sketching skills, you can perfect your craft by first tracing an image to create a basic sketch if you are new to fashion drawing.
Tips and Warnings
- Modern Technology: Good or Evil? Research, form your opinion and don’t be afraid of applying them to drawing. For example, as in school studies, various educational programs: Cisco, PaperHelp, Google Scholar, and Wikipedia can be used in a variety of tasks and processes, as well as in the drawing. Procreate, Adobe Photoshop, and Sketchbook are perfect not only for professional artists but also for drawing fashionable sketches.
- When learning to sketch the body, don’t hesitate to mark as many reference points as you need to familiarize yourself with proportions-once you practice more, you can always omit reference points you don’t need.
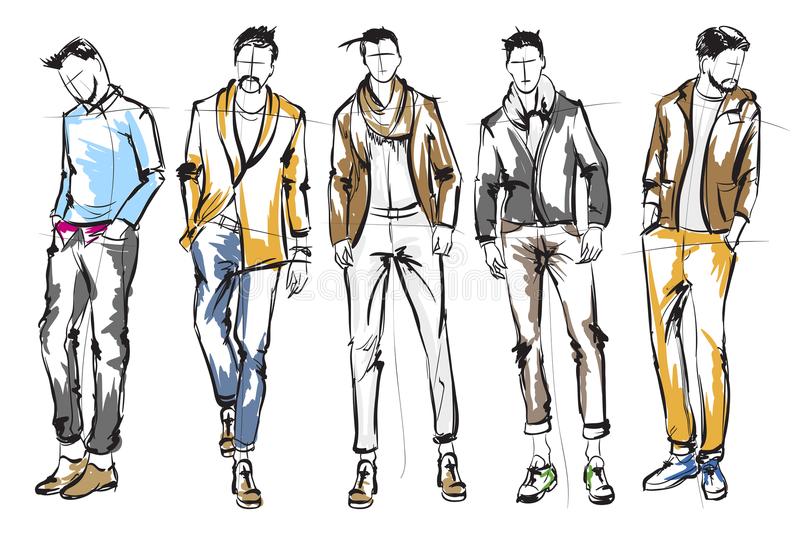
- To transform a regular body sketch into a stylized drawing, exaggerate the length of the arms and legs, and dramatically reduce the waist.
- Download previously drawn sketches from the Internet to help you with your fashion sketches.
- Drawing the human body is not easy, so you may experience frustration when you start drawing. Be patient and remember that practice makes perfect.
- Never exactly locate a reference material and claim it as your work; it is copyright infringement.
Below are the instructions for drawing:
2B and 4B pencils are used in fashion drawing.
Set up the drawing area to make sure you have enough light, a hard surface to draw on your newly sharpened 2B and 4B pencils, and an eraser in hand.

Find a reference image from a book or magazine.
Choose a visual reference from a book or magazine on which to base your fashion sketch. A good example would be to use an underwear model from a catalog, as body shape and contour will be highly visible. Just make sure you have an image that doesn’t have any body parts cut off.
Use a sheet of paper and 2B pencils to trace over the head with an oval shape lightly.
Continue tracing the body using light circular and oval shapes. Remember, the human body rarely has any straight lines in its silhouette, so keep your hand loose and your contours curved when tracing.
Draw a line through the center of the drawing to indicate the axis of symmetry.
Using your reference image and forehead. Draw a curved line that reaches through the center of the eyes, nose, and lips and ends at the chin. Start at the top of the neck and draw a line that intersects through the center of the chest, navel, hips, and ends at the pelvis. It will be your guide for seams when adding garments to your figure.
Create horizontal lines to mark the most important measuring points in fashion design, the chest, waist, and hips.
Be guided by the reference image. You can also mark other body parts that bend or curve if you wear garments, such as knees and elbows.
Add details such as hair.
Trace details such as facial features, hair, and shoes lightly, even using your 2B pencil. Because you don’t want to create a copy of the reference image, it’s best to trace the outlines and add your details as you feel most comfortable with the drawing.
Use the 4B pencil to then sketch in any highlighted or lighter areas of the body – for example, the collarbone and cheekbones.
Only a light line is needed to show the definition of the body. Add the clothing to your sketch.